Photos by Paul Flessland
We often pass over the smaller or transitional areas of our house, such as halls and entries, in favor of decorating rooms, seeing them only as utilitarian. Get me where I want to be, hallway! Take my coat, entry! But a nicely-decorated hallway and entry are like the right pair of shoes. The rooms of your house might look great independently, but without something pulling it all together your house may come across as unfocused or incomplete. A well-designed hallway and entry are the finishing touches that pull a home together.
Most of us don’t have the huge entries and wide halls we see in magazines. My entry certainly couldn’t fit a sophisticated round table and my hall is just wide enough to walk down. Let’s be honest, seeing pictures of elaborate homes with perfect décor is intimidating. It may seem like you can’t get the look in your own home unless you have oodles of space. Don’t let a lack of square feet get in the way of greatness. Sophisticated, and dare I say grand, transitional areas are within reach, no matter how small the space.
Think Architecture
My favorite way to add edge without taking up valuable space is to take to the walls. Small spaces can handle drama, particularly architectural drama, and my favorite way to add impact is wainscoting.

It can be traditional, modern, country or quirky. Besides its ability to adapt to a range of styles, molding helps protect high traffic areas from unwanted scuffs.

AFTER
Our household is all about compromise, so our wainscoting of choice is a mix of modern and traditional. Plus, we don’t like things to get too complicated, so we skipped a few of the traditional steps, like adding paneling, in favor of creating a more faux wainscot look. The easier the better in our book.

BEFORE
How We Installed Our Wainscoting
1. Determine Height.
Decide what height you want the wainscoting. We went with about one-third of the way up the wall.

2. Refinish Walls To Be Flat.
If your wall texture is already flat. If so, you can skip this step, the mess and the sore arm muscles and move on to step three. However, if it is textured like ours, keep reading.

Throw some plaster onto the bottom portion of your wall. We used wallboard joint compound and applied it with a 12-inch taping knife. After it dried, we sanded the wall smooth with a sanding sponge. Repeat as needed. Our walls are pretty heavily textured. It took three applications.
3. Add The Chair Rail.
We used liquid nails to adhere our chair rail to the wall. Then we used a finishing nailer to secure the molding to the studs.

4. Mock Up The Picture Frame Molding.
We used painters tape to mock up a few options, eventually settling on about 4-inch spacing between, above and below each frame.
5. Install The Picture Frames.
Using the tape as a guide, we measured twice and cut once. Okay you caught us, sometimes we cut more than once, but to minimize waste, make sure you measure carefully. We made 45-degree miter cuts so the pieces could be nailed into place like a picture frame.
6. Touch Up The Walls And Then Paint.
We touched up the wall texture as needed and filled the nail holes with wood filler. Then slapped on three coats of white paint.
For a more details on how we installed the molding visit prettydomesticated.com.
GET THE LOOK
Butterfly art – Pheromone Christopher Marley from McNeal & Friends
Decorating A Small Entry
When space is limited and you need the area to be functional, it is more important than ever to edit your selections. While it’s okay to have a few purely decorative items to add character, in our case it’s a tree, the majority of your selections should be practical.

BEFORE

AFTER
Tips
Expand with Mirrors.
Mirrors visually double the width of your space. Plus, having a mirror on hand to double check your appearance as you rush out the door isn’t a terrible idea.

Go Bold.
Pick a dramatic paint color or wallpaper, or simply paint your front door a bright color.
No entry? Carve one out.
Is your entry so small that you don’t even have one? Find a corner or wall space near the door and add a mirror, and bench or narrow console table. Voila! You have an entry!

While I would have loved to have a console table, due to the galley layout of my entry, it wasn’t in the cards. Decorative items would have been falling off the table constantly. Instead, we opted for a custom bench by Grain Designs. It’s stylish, modern and most importantly functional. It’s a comfortable place to take o your shoes.
Get the Look
Wall Color – Sherwin-Williams Agreeable Gray, Wainscot – Sherwin-Williams Simply, White Door – Sherwin-Williams Waterfall, Overhead Light – Pottery Barn, Bench – Custom by Grain Designs, Rug – thevintagerugshop.com, Yellow Pillow – Room & Board, Black & White Pillow – Target, Fur Throw – Hobby Lobby, Mirror – McNeal & Friends, Plant – Fiddle Leaf Fig from Bachman’s, Planter – Modernism Case Study Planter – Available at Room & Board, Hooks – Pottery Barn
Arranging A Gallery Wall
Wainscoting on its own may not be enough to liven up a narrow hall. Get a perfect gallery wall without poking a bunch of holes in the wall by planning ahead.

Frames – Custom at Michael’s, Pottery Barn, West Elm and Room & Board.
1. Curate an array of items. This could include kids’ sketches, professional art, personal photographs, etc. The options are unlimited, but make them diverse.

2. Keep things simple and pick a color scheme. Our selections are mostly pastel.
3. Matching mats make the display look collected, not chaotic. However, it’s okay to mix in a few matless designs.
4. White frames are always a safe choice. Mix in a few metal or wood frames to keep things from getting too boring.
5. Test drive your layout. Cut out paper into the dimensions of each piece and tape the mock-ups onto the wall. Leave a few inches between each frame and keep adjusting the layout until satisfied.
6. Get hanging!
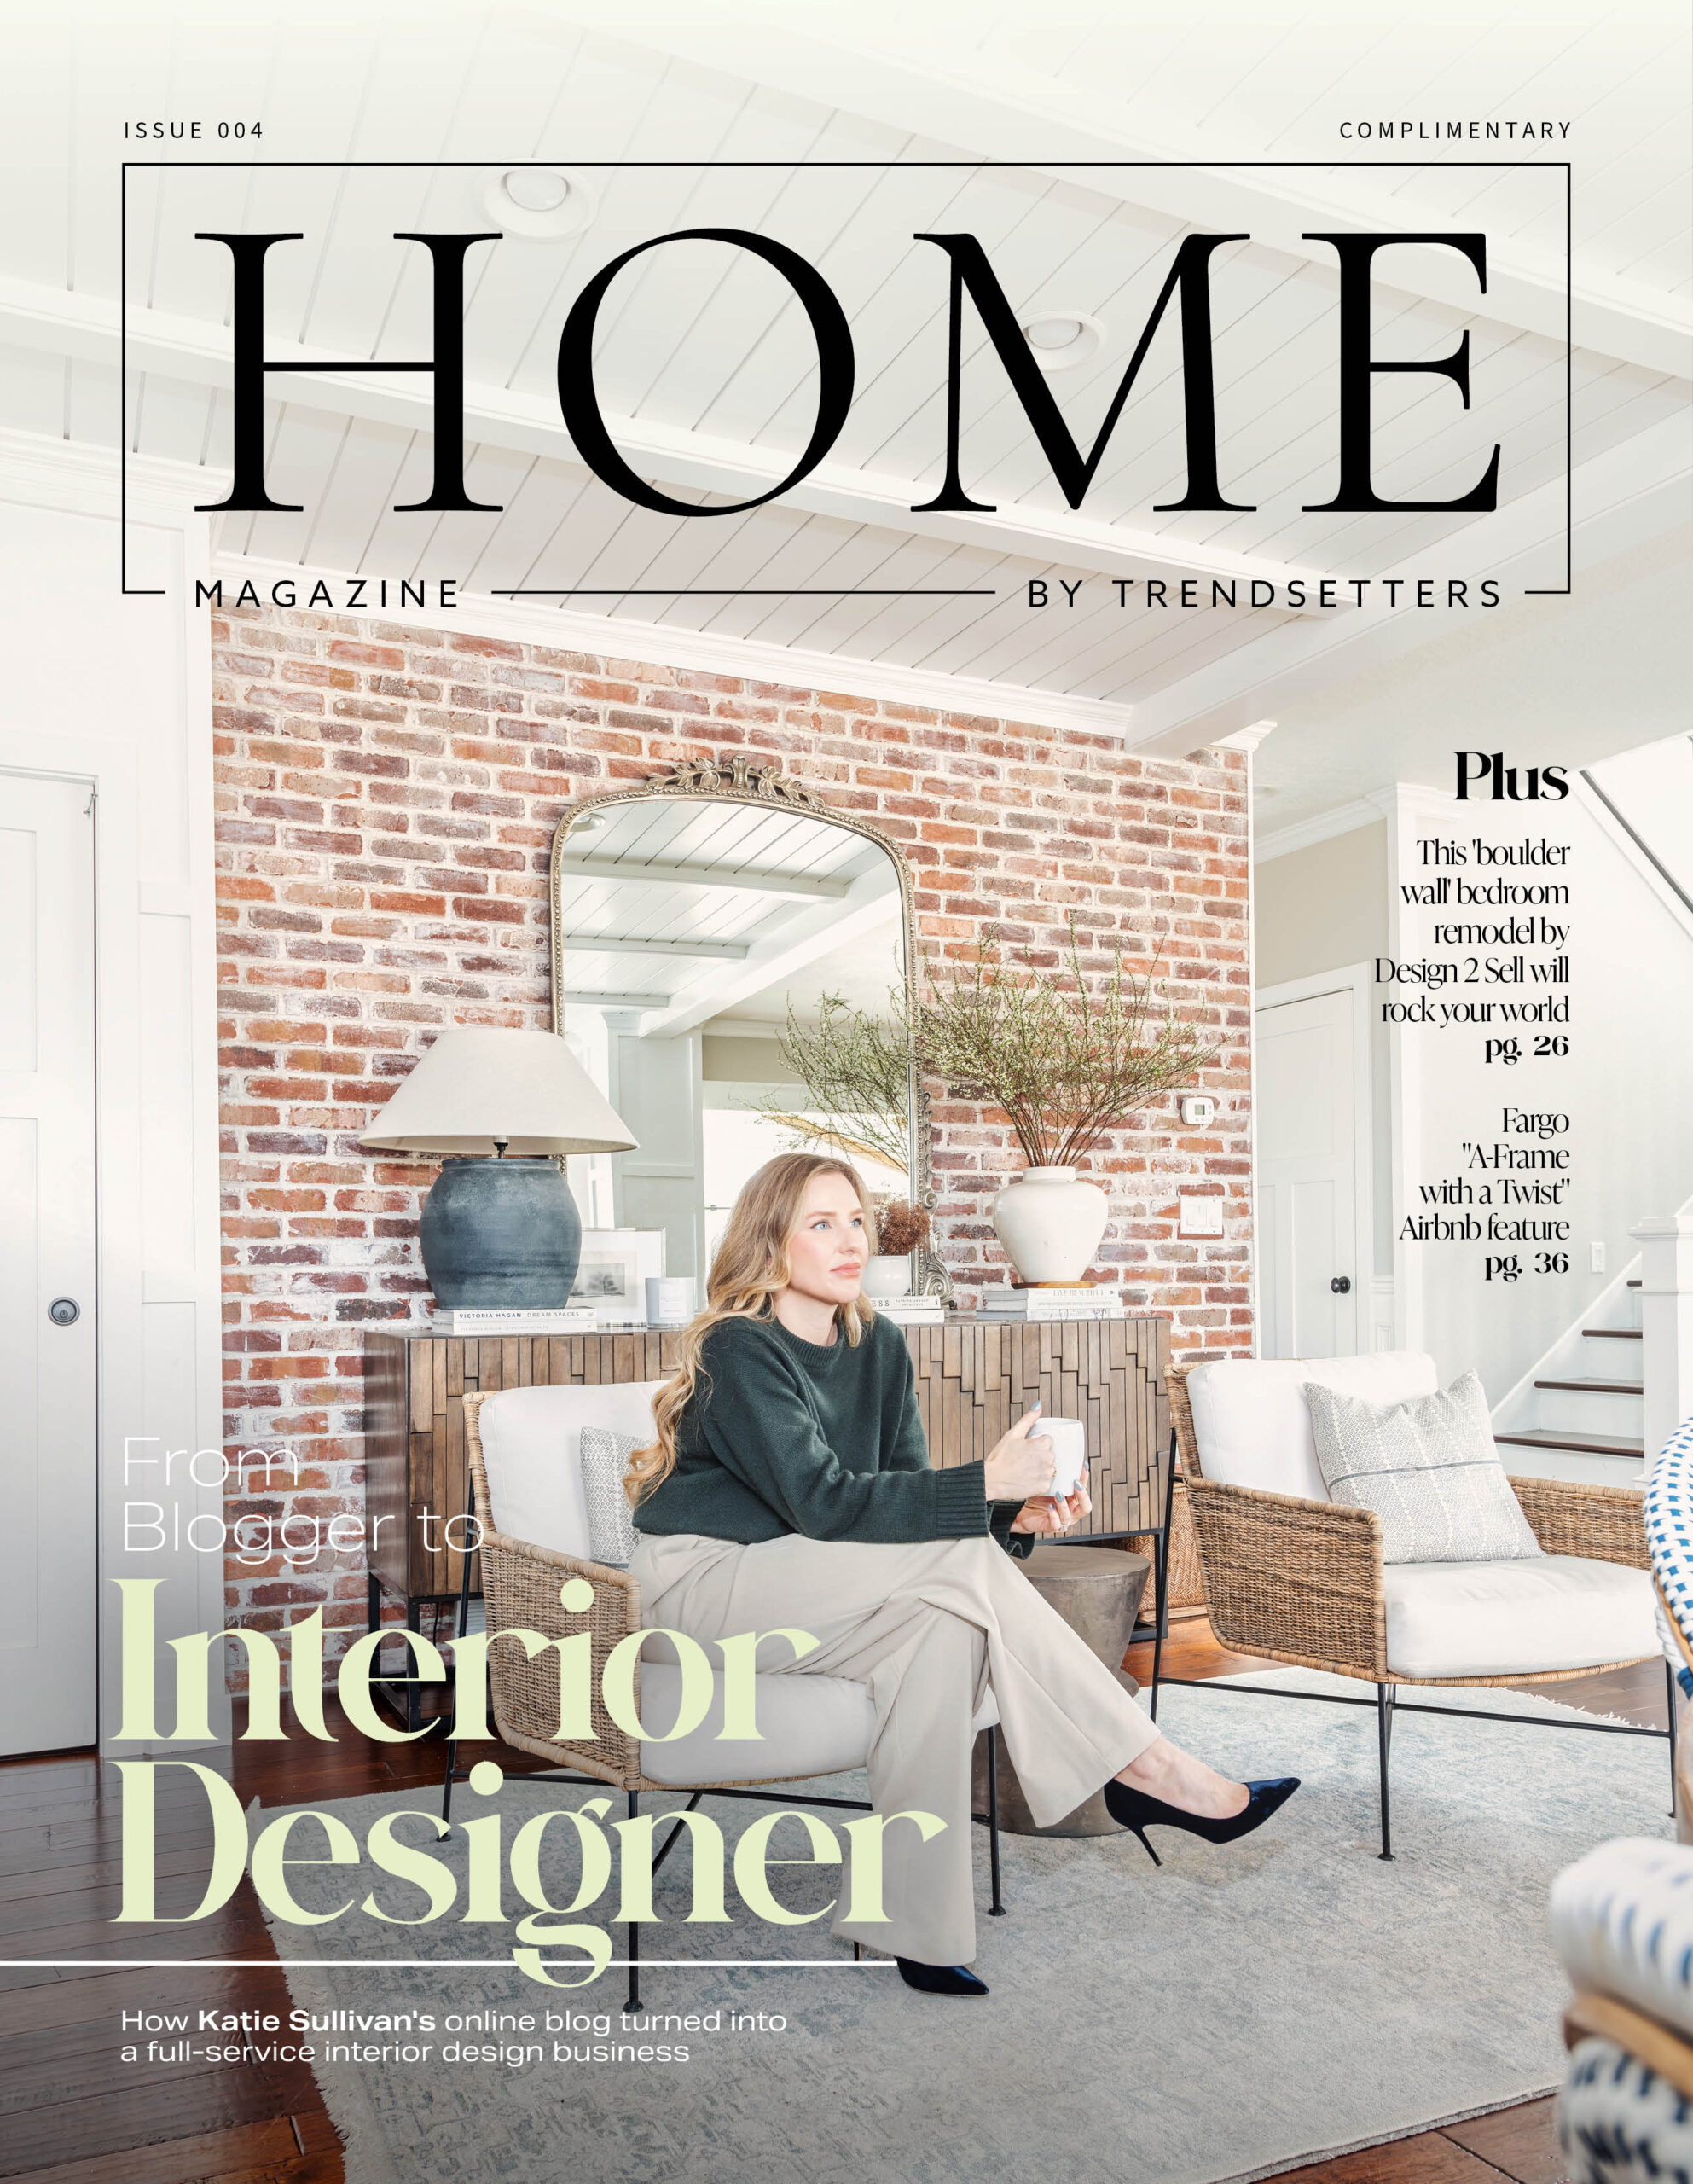
Katie Sullivan
[email protected]
facebook.com/prettydomesticated
instagram.com/prettydomesticated
For details on where to get the decor featured and for more in-depth tutorials, visit my blog at prettydomesticated.com.